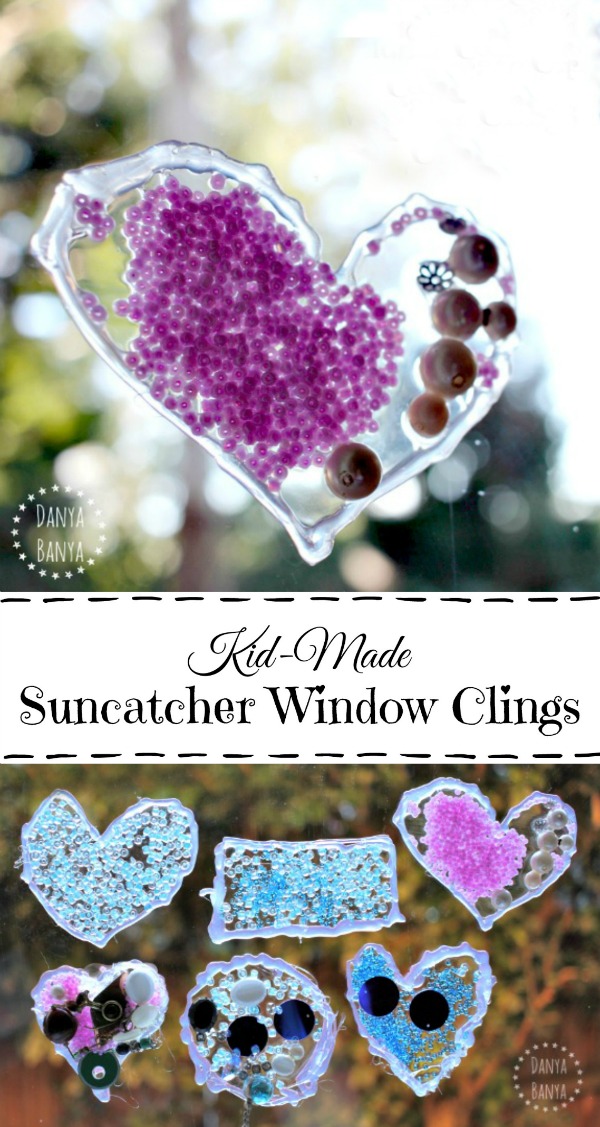
Fun kids craft idea: how to make pretty suncatcher window clings with beads and sequins.
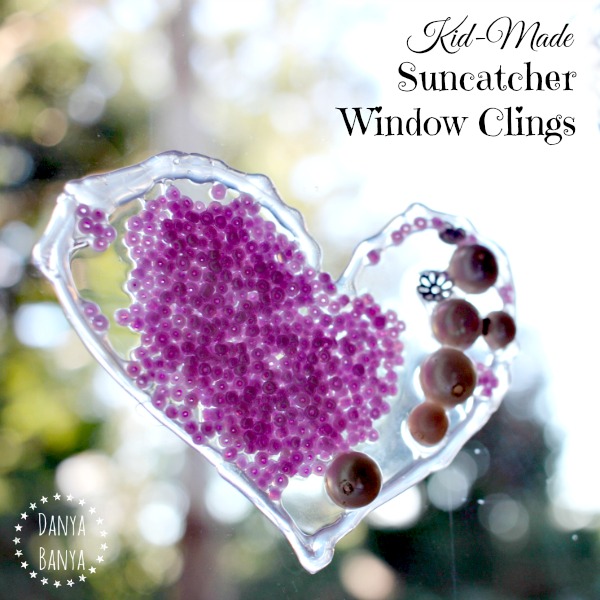
These pretty Pony Bead Sun Catchers from Holly’s Arts and Crafts Corner popped up on my Pinterest feed a few months back, and I though they sounded like a great idea! I made a few changes based on Holly’s suggestions and recommendations (at the bottom of her post) and the supplies we had on hand. Here’s how our versions turned out.
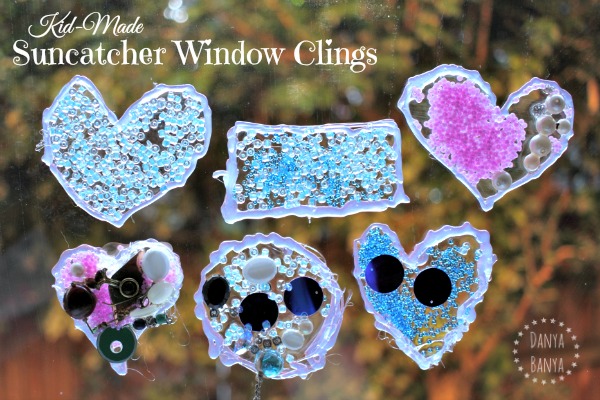
Aren’t they… unique? Haha. I love them. 🙂
To make suncatcher window clings like ours, you need:
- a low temperature glue gun and glue
- clear drying hobby or craft glue
- various beads, sequins and other small knick knacks
- a glass tile or mirror
- craft stick (optional)
I’m sure you could use a hot glue gun for this project instead – I had just happened to have run out of glue for our hot glue gun, so hence why we used the low temperature glue gun this time. It also meant that I was comfortable letting my 5 year old daughter JJ have a go.
What to do
1. Create a ‘glue border’ with the glue gun onto a glass tile or mirror.
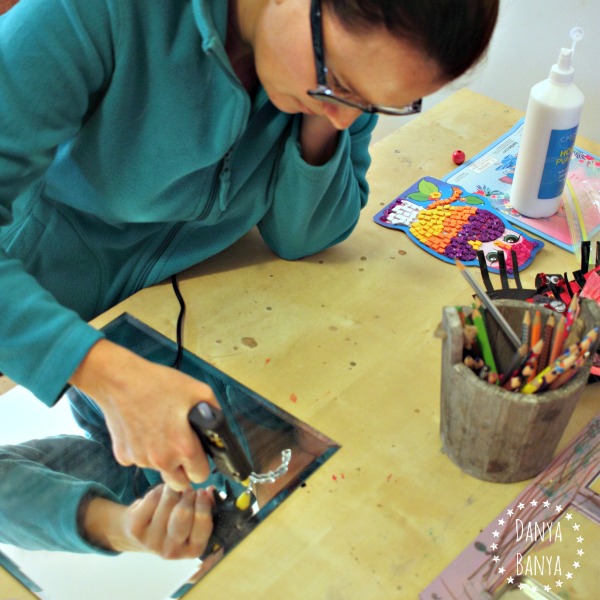
An adult will probably need to help make the shapes. At the kids request, we did four hearts, a circle and a rectangle. JJ and I held the glue gun together to make a couple of the (wonkier) shapes, and I did the others.
Any type of glass or mirror that you can lie flat would work. I picked up these two mirrored tiles on Freecycle a few months ago, and we’ve used them so many times since.
2. Fill the glue border with clear drying hobby or craft glue.
Use your finger (or craft stick) to spread the glue around a bit. It doesn’t need to be particularly deep, as long as the glue covers the entire bottom of the shape.
3. Add sequins, beads and other knick knacks.
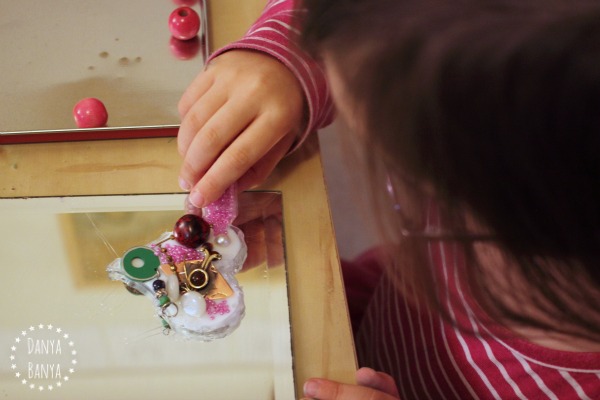
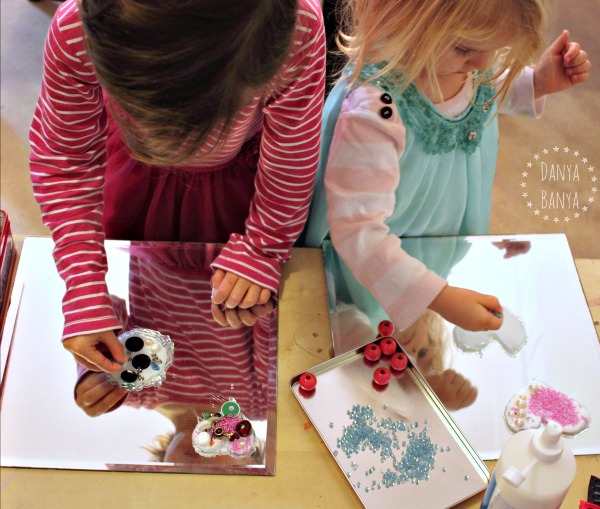
This is where kids can get creative. There are no rules! My youngest daughter Bee (who was 2 years, 9 months old when we did this) liked to pour out lots of mini beads onto her shapes. JJ preferred to raid our broken necklace, bead and sequin stash to make her own designs. Bear in mind that the larger / heavier beads may need a little more craft glue to hold their weight.
(Beads are a choking hazard for young kids. Please see safety advice at the bottom of this post.)
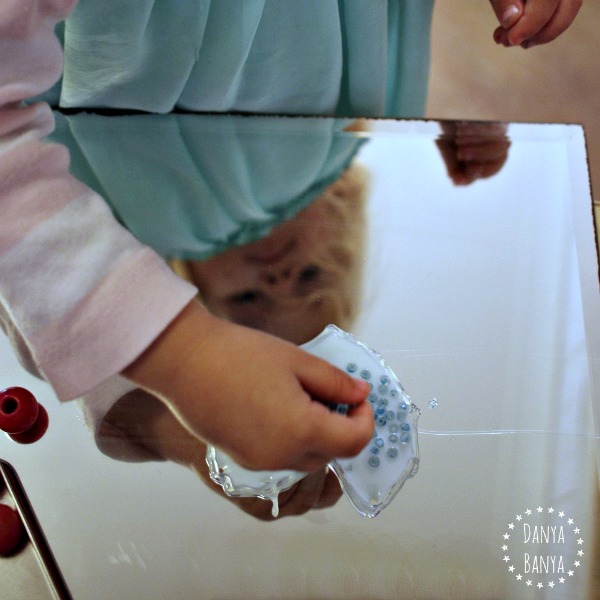
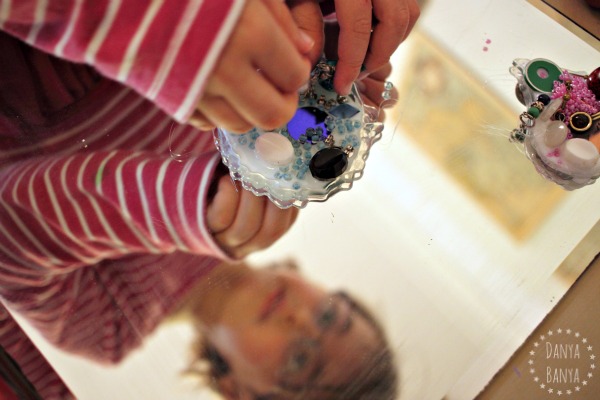
4. Wait for the glue to dry.
We actually did these on the evening before going on holidays, so I’m not exactly sure how long they took to dry. But it was delightful to discover them again when we got home a few days later.
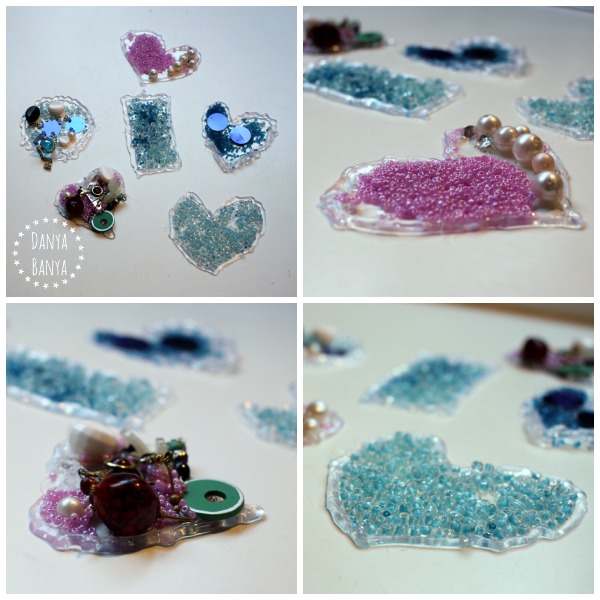
5. Stick them onto a window!
I initially imagined that I’d need to attach a string somehow so I could hang them, so I was delighted to discover that I didn’t actually need to. They stick straight onto a window really well! They are easy to peel off again and reposition (which the kids loved doing over and over). When the sun is streaming through, the little beads in particular look so sparkly.
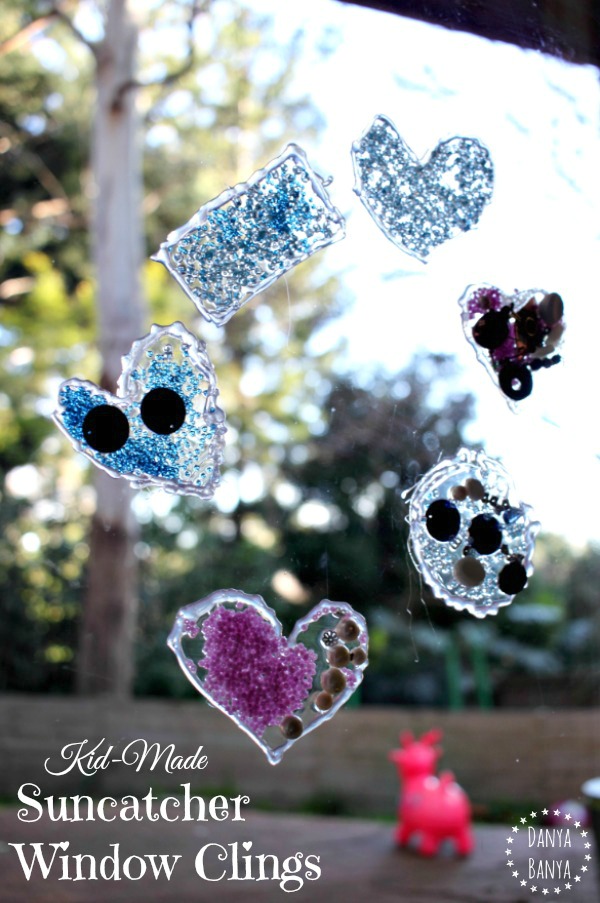
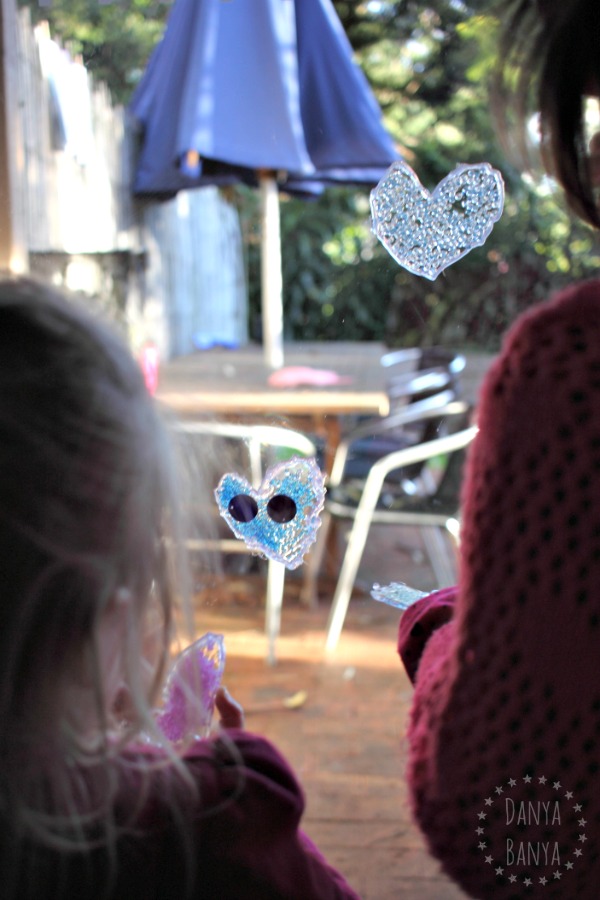
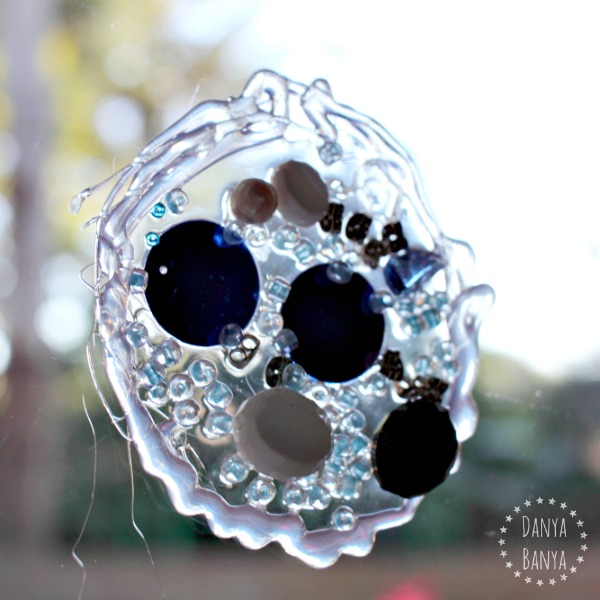
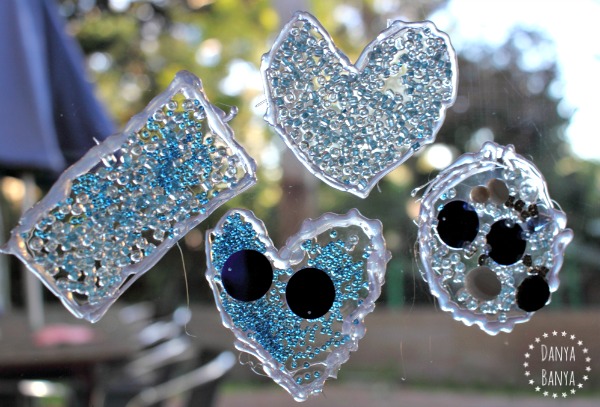
The kids had so much fun making, and displaying their window clings. And as we have a large bead, sequin, broken necklace and miscellaneous haberdashery stash (thanks to some awesome friends who have gifted us their respective stashes over the years), I’m thinking we might make a few (dozen) more of these so we can make good use of our gorgeous goodies. 🙂
xx Danya
(All kids activities on this blog require attentive adult supervision. Beads can represent a choking hazard, especially for young kids who are still in the mouthing phase. Parents and carers should use their best judgement to determine whether a particular activity is suitable for their child. Please click here for more information.)

#
They came out great, and the pictures of making them over the mirror look so pretty! Pinning 🙂
#
These are adorable! My 3 year old would go crazy over an activity like this. Thank you.
My recent post Simple lemon slice recipe
#
Thanks Kate!
#
I LOVE this! They turned out great! And what a FANTASTIC idea to use a mirror and glue gun for the border! BRILLIANT!
My recent post Alcohol Ink Stamped Candle Holders
#
Thank you for the inspiration!
#
Danya, I wonder if you or Holly have tried using Tulip's Slick Dimensional Fabric Paint for window clings, or even (probably after drying?) as the border for glue, etc., suncatcher/window clings? I discovered the window cling use at least 25 years ago and had forgotten about it. The first use was for small free-handed ghosts and spiders for Halloween window decorations. The ghosts were created using black for eyes and mouth, then a solid pearlescent white for the body around the eyes and mouth. I stored them on a sheet of stencil plastic for the following year. I've also used Gallery Glass for window clings, but after several years of solid use, the frog that I had created for surprise effect on the bottom of my sliding glass door became brittle and could not be removed in one solid piece to be repositioned. I still have flowering daffodil "plants" that grow from the bottom of my kitchen window. Unfortunately, one of the two green colors I used to give the leaves dimension faded to only a blue, but I used a single-edged razor to cut out those areas and used the other green which is still green after 23 years.
#
Oh, no I haven’t even thought about using fabric paint – great tip! Your window cling designs sound awesome, so amazing to hear that they’ve lasted so long!