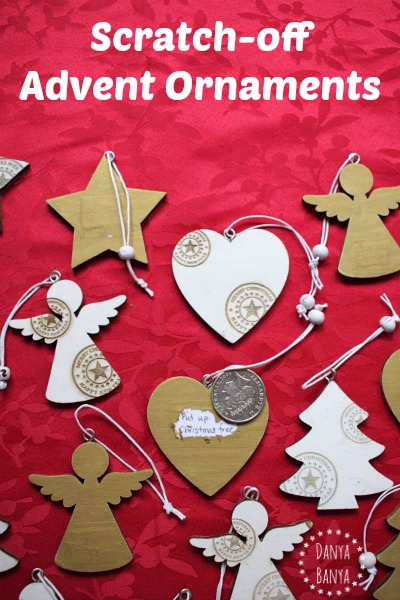
How to make a DIY scratch off advent calendar by modifying Christmas ornaments with this simple trick!
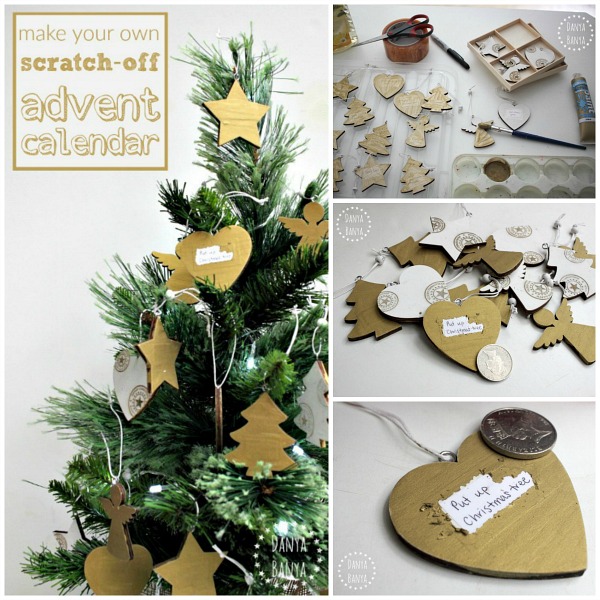

It’s November, which means it’s time for Christmas crafts! And the first Christmas craft in our household is usually making our advent calendars. We started a few years ago with this easy recycled Christmas card advent calendar (which is a great one if you’ve left it to the very last minute). Last year we got a little craftier, with our Christmas tree advent calendar that we made from toilet paper rolls. This year I thought I’d see if I could make a DIY scratch-off advent calendar because, well, scratching off and revealing things underneath is kinda cool. It adds a little bit of intrigue to all the advent fun. 🙂
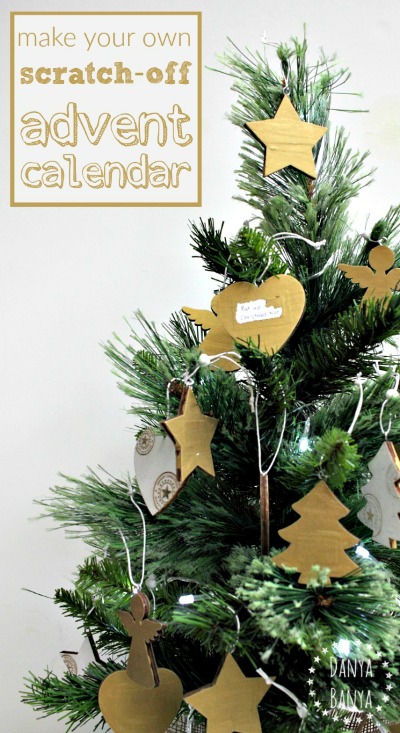
How make scratch-off advent calendar ornaments for the Christmas countdown
I gathered most of our supplies for this project from Spotlight. (If you haven’t heard of Spotlight before, it’s an awesome Australian sewing and craft superstore {aka my happy place}, and the lovely sponsor of this post today).
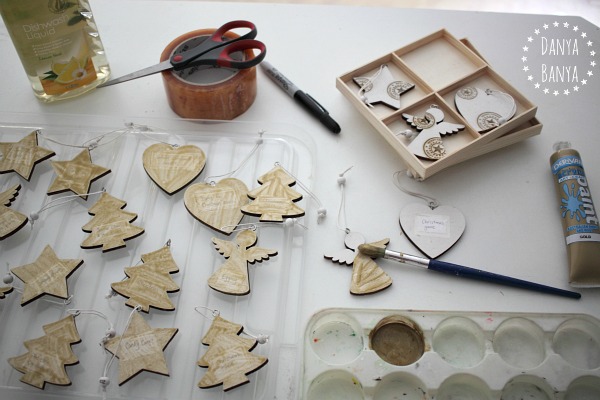
To make our scratch-off ornaments, I used:
- Two dimensional wooden Christmas ornaments
- Gold acrylic paint
- Dishwashing liquid
- Paint brush
- Paper and pen (or computer / printer if you prefer)
- Clear packing tape
- Glue stick
- Scissors
- Thin permanent marker
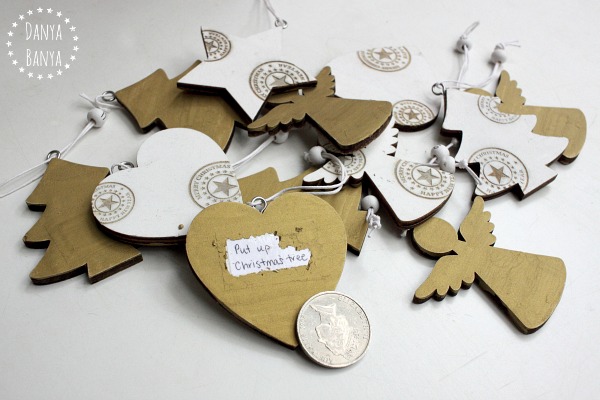
I’m just a little bit in love with the Jolly and Joy wooden ornaments that we found at Spotlight, in 2D heart, star, angel and tree shapes. They have a subtle gold stamp design on one side, and plain white on the back. They also have a little clay bauble on the loop (which came in handy for adding dates later on).
1. Decide on your list of advent calendar activities
I took some care in deciding on our advent calendar activities this year, trying to balance of fun ideas that I can pick ahead of time, and yet won’t put us under too much pressure if our days don’t go as planned. A few of our activities are things that we will be doing anyway (like the school Christmas concert). A few of our activities are simply the titles of Christmas books we have on our bookshelves (especially great for days where our calendar is already looking busy). Some of the activities are intentionally vague so we can decide on the day exactly what we want to do. And I may also have thrown in “Carols on the piano”, just so I can have the kids check if there’s someone called Carol sitting on our piano. I’m fairly sure they’ll think it’s hilarious. 🙂
2. Write (or print) out your activities onto paper. Cut them out, making sure they are small enough to fit on your ornaments, with space to spare.
I decided to handwrite our advent activities for a home-made touch. I don’t get to practice my handwriting very often these days!
3. Lightly glue each activity to the back of the ornaments.
You could skip this step if you like, but I found it handy to position each activity in place on the ornaments before adding the tape in the next step.
4. Cut packing tape to size, and stick over each activity, allowing for a few millimetres overlap on each edge.
This will seal the activities, so that they will be protected from the scratch-off paint later on. I actually tested out three different ways to seal the activities, using clear sticky-backed contact paper, Mod Podge sealer and regular clear packing tape, and I found packing tape to be the best for this particular project.
5. Add dates to your ornaments
I know you’re keen to get to the scratch-off paint part, but before we get to that, you’ll need a way to remember which activity is which! For ours, I used a thin permanent marker (Sharpie CD/DVD Marker) to add numbers 1-24, according to my activity list, onto the little clay bauble on the loop of each ornament.
6. Make your own scratch off paint mix
OK, here comes the fun part! To make scratch-off paint, mix two parts gold acrylic paint with one part dishwashing liquid (which my international readers may know as ‘dish soap’).
7. Paint several coats of scratchable paint over the entire back of the ornament, allowing time to dry between coats.
Our ornaments needed three coats before they were opaque enough to conceal the secret advent calendar activities inside. The first coat was quite transparent, but I was able to apply the second and third coats quite thickly, leaving lots of time to dry between coats. (Tip: try to be gentle when painting over the taped area, lest your paint brush scratch off earlier coats. I found gently dabbing the paint on to be more effective than ‘brushing’ it on.)
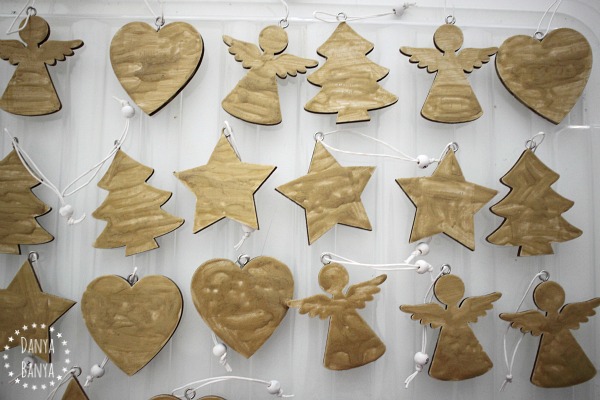
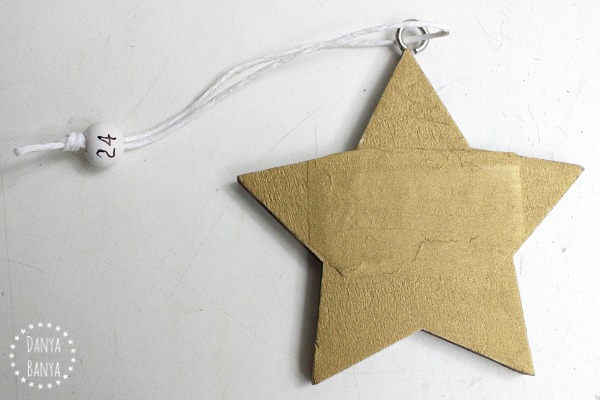
Once I reached an opacity I was happy with, I just had to grab a coin and test it out! I found the paint scratched off the sealed taped area quite easily, revealing the secret message inside.
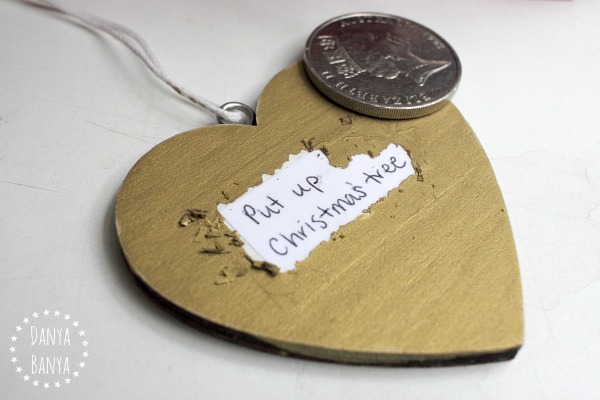
I scratched off our 1st December activity, which by tradition, is always ‘put up Christmas tree’, so I haven’t really spoilt the surprise too much. The kids are busting to know what other activities are hidden under the scratch paint on the other ornaments though! They’ll have to wait and find out (although, if you keep reading, I might let you in on our secrets in a minute or two….)
But first, we needed a Christmas tree to hang our advent ornaments from! We couldn’t decide if we wanted to hang them from our mini fir tree (while we wait until December 1st to put up our ‘real’ one), or to paint our own Christmas tree table centrepiece, so we tried out both.
For our Christmas tree table centrepiece, we used:
- Standing Christmas tree centrepiece
- Red acrylic paint
- Mod Podge matte waterbase sealer
- Paint brush
- Sticky tape (or blu-tack) to attach the ornaments
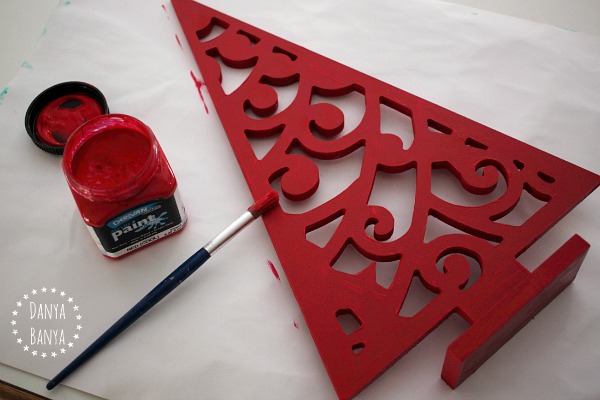
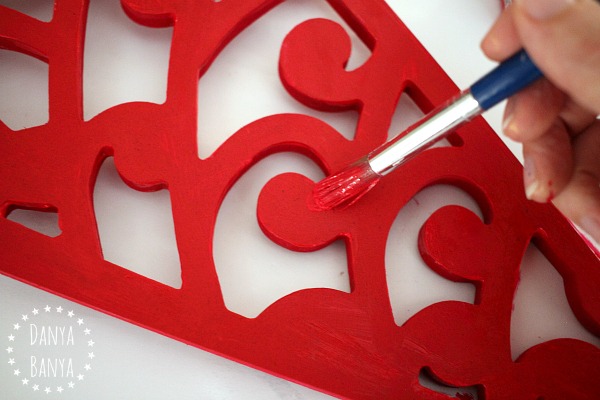
Even with two coats, I totally over-estimated how much red acrylic paint we’d need. The smaller tube size would be plenty. Bonus that we now have lots of extra paint to play with though!
Here’s how it looks with just twelve activities. (Perfect if you are doing the twelve days of Christmas perhaps?)
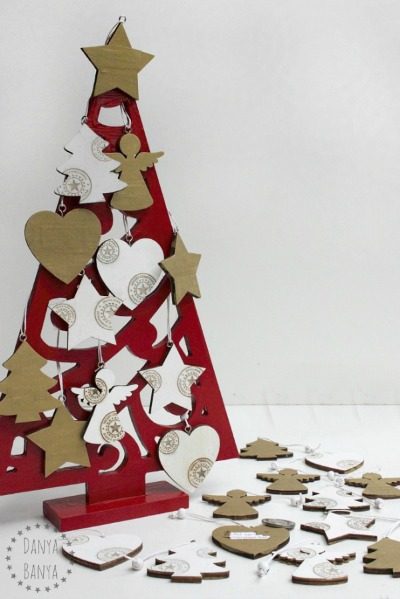
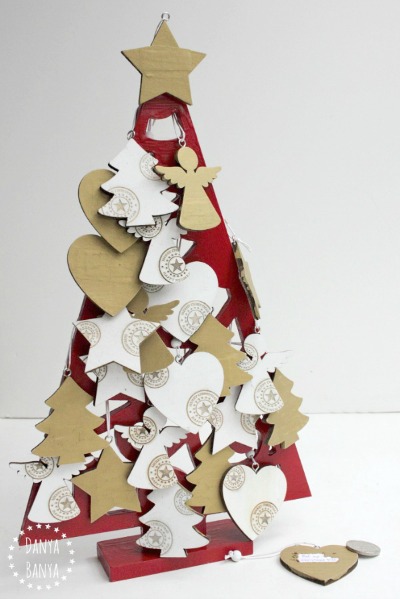
And here’s how it looks with all 24. It’s a tad crowded at first, but you could remove one activity a day, perhaps hanging it as an ornament on your regular Christmas tree, and gradually revealing more of the pretty cherry red as Christmas day approaches.
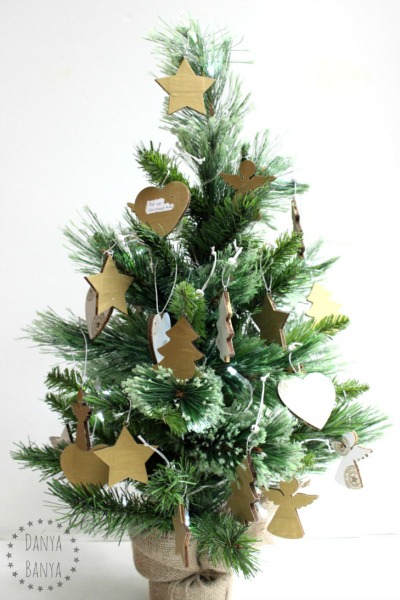
The kids have opted to keep the the advent ornaments on the mini fir tree for now, but I have a feeling they’ll be moved around from one tree to the other over the next few weeks.
Our advent calendar activity list
I’ve included our advent activity list below, in case you’d like some inspiration.
As I mentioned earlier, I’ve added in some of our family Christmas traditions (like putting up the Christmas tree on December 1st), and some organised events that we’re planning to attend.
Some of the ‘activities’ are actually the titles of books that we always bring out at this time of year. My kids love reading, so they will think snuggling up and reading a Christmas story together is very special (even if it’s a book they’ve read before). If we’re feeling up for it, we might use the books as inspiration for a Christmas craft, activity or themed snack too. But… we’ll wait and see how we feel on the day.
Otherwise, I’ve left many of the activities intentionally vague, so we can decide exactly what we want to do, depending on our time and energy levels. For instance, ‘Gingerbread’ could mean: make a gingerbread man; buy a gingerbread man from the shops; give a gingerbread man as a gift to a friend; make and decorate a gingerbread house; create a piece of gingerbread house art using mixed media; or play with some gingerbread playdough (which was something we did last year and the kids loved it.)
Our 2015 advent calendar activity list
1. Put up Christmas tree
2. Pearlie & the Christmas Angel
3. Dance to Christmas music
4. Write to Santa
5. Make Christmas cards
6. Candy cane
7. Santa Claus & His Elves
8. The Little Christmas Elf
9. Carols on the piano
10. Eggnog
11. Christmas biscuits
12. Christmas craft
13. The Bears’ Christmas
14. Carols by Candlelight
15. Christmas art
16. School Christmas concert
17. Christmas movie
18. Gingerbread
19. How the Grinch Stole Christmas
20. Candy cane
21. Christmas craft
22. Christmas movie
23. Christmas game
24. Treats for Santa and Reindeer
Are you making an advent calendar this year? If you do activities, what do you add to your activity list?
For more homemade Christmas fun, check out our Christmas Activities for Kids page. Or you can always subscribe to our newsletter, to be kept up-to-date with all our latest activities.
xx Danya
Disclosure: This is a sponsored post for Spotlight and includes affiliate link(s) where appropriate. All opinions are, as always, my and my kids’ own. Please see my disclosure policy for more information.


#
Wow – this HAS to be the best advent calendar idea I have seen. I had no idea how to make scratch off paint. It seems so easy! How cute are those decorations too!
#
Thank you!!! I was surprised at how easy the scratch off paint was too! (I have a feeling that I'm going to be making scratch-off everything from now on). 🙂
#
I love this idea and it looks so beautiful!
My recent post What to Give a Three Year Old? Holiday Gift Ideas Kids will Play with all Year
#
Thank you Katie!!
#
Wow, wow, wow!!!! What a sensational and unique idea. They would be great gifts to give people.
#
Thanks Kate! And gifts – I hadn't thought about that! You could put a little personalised note on the back for them to scratch off!! Ahh, I think you're convincing me to duck back to Spotlight and grab some more ornaments…. 🙂
#
LOVE this idea! Beautiful! Lou x
#
Thanks so much Lou!
#
What a sweet idea!
#
Aw thank you!
#
This is such a cool idea!!!
#
Thanks Kate!
#
Amazing! I love these scratch off advent calendar! It is so cool! Thank you for sharing it with us #pintorials
#
Thank you!! And thanks for inviting me over to share. 🙂
#
#
#
#