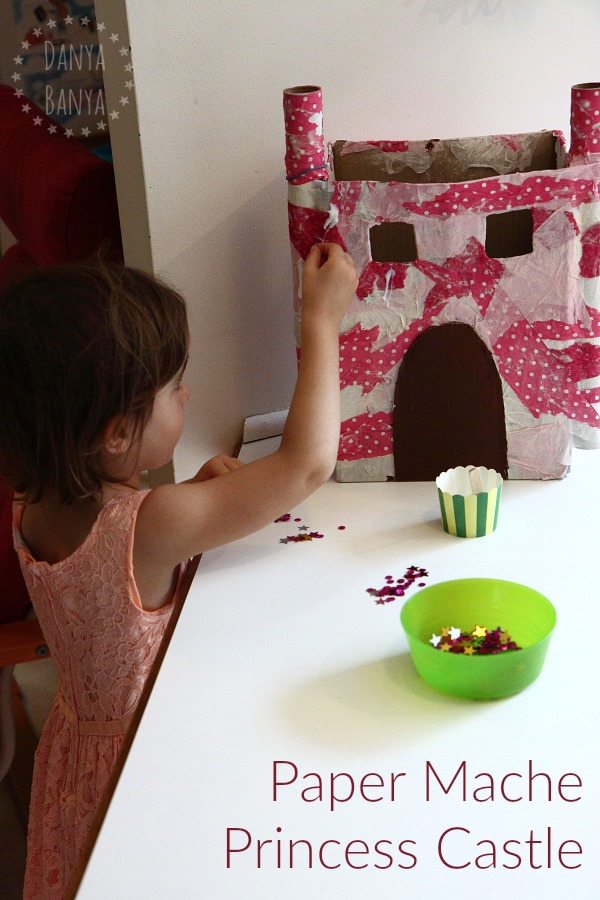
Have I ever mentioned the hundreds of activities that we’ve done, that are still sitting in my drafts? This paper mache (papier-mâché) princess castle was one of them. 🙂
 We made this princess castle back in 2014, when JJ was almost 4 years old. It’s not the fanciest castle in the world, but it was fun to make, and JJ loved it. I seem to recall there were grand intentions to add more details to our design (like a roof perhaps?), which, as you can see, never actually happened. JJ loved it anyway.
We made it from:
- an old cardboard box
- two sturdy cling-wrap cardboard tubes
- masking tape
- brown acrylic paint
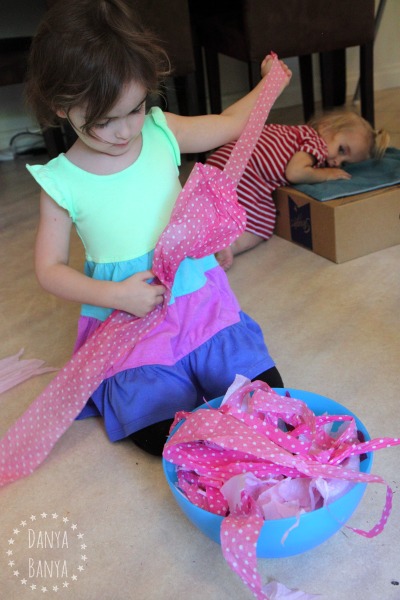
- hot pink polka dot, pale pink and white tissue paper (upcycled wrapping from presents we’d received)
- classic paper mache glue (equal parts flour and water)
- star and round sequins and school glue (optional)

I cut the flaps off the top of the cardboard box, cut an arched drawbridge door, and two windows. I also cut a ‘secret’ doorway at the back. I also painted the drawbridge.
JJ helped attach the cardboard tubes to the sides of the box with masking tape, to look like towers.
Then we haphazardly covered everything (except the drawbridge) with strips of tissue paper, paper mache style, paying particular attention to the covering the towers and the tricky bits around the windows. We were also careful not to stick the secret door closed.
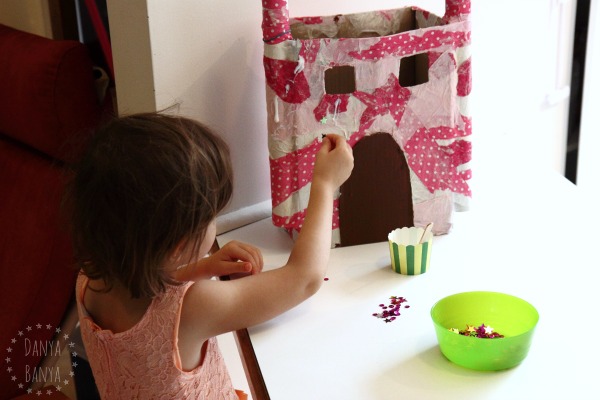
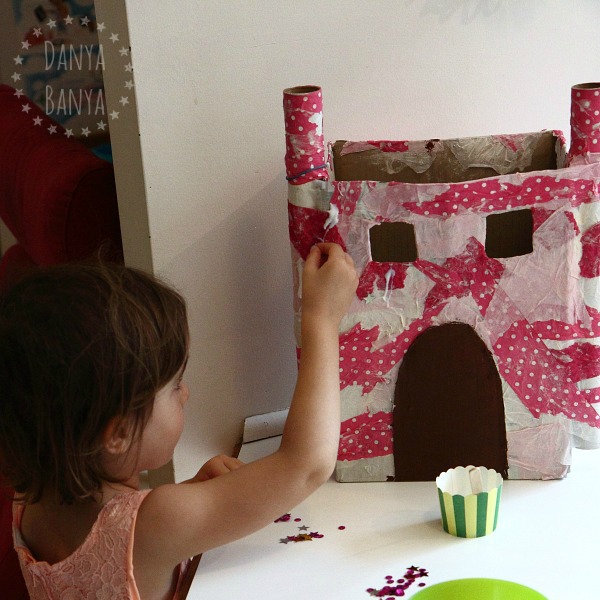
Once it had dried, JJ added some extra sequin embellishments with clear-drying school glue and a craft stick. (I like to pour the glue into a paper cup – it makes for quick clean up.)

JJ used this castle for imaginary play for ages and ages. It was the perfect size for her LEGO Duplo princess figurines, and she especially loved having them sneak out the secret back door.
And thanks for bearing with me while I go through my old drafts. It feels like a spring clean to be able to finally get this published, and start fresh. 🙂
xx Danya

