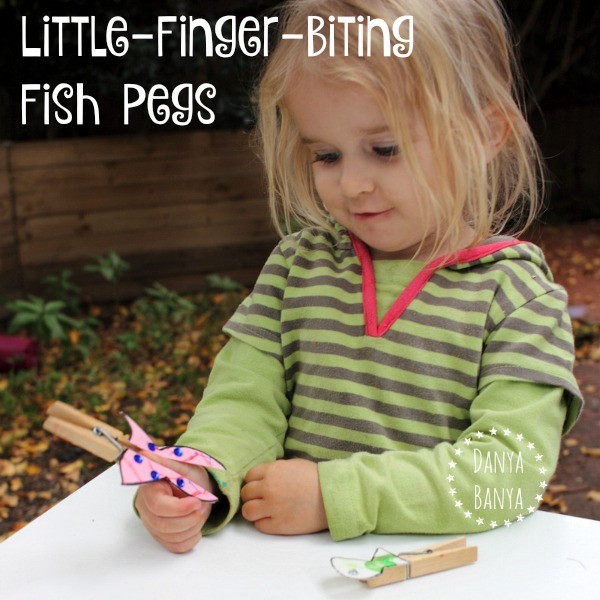
How to make finger nibbling fish pegs: a playful craft to accompany the nursery rhyme “One, Two, Three, Four, Five, Once I Caught a Fish Alive”.
Oops! This is another nursery rhyme post from last year that was still sitting in my drafts.
(We did lots of fun activities last year, but what with launching a second site and general family craziness, I seem to have fallen a bit behind in writing them up… please bear with me.)
We did this activity back in May, when Bee was about 2 years, 10 months old, to go along with the nursery rhyme One, Two, Three, Four, Five. Or you might also know it numerically, as 1, 2, 3, 4, 5? (As far as I can tell, both titles are used. If you’re singing it aloud, does it really matter?)
Either way, you know how the song goes, right?
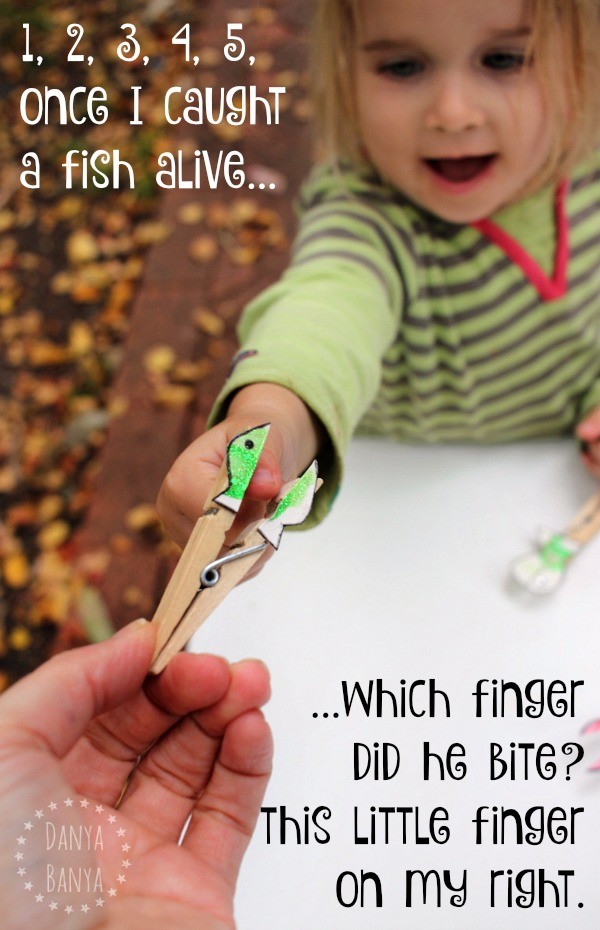
One, two, three, four, five,
Once I caught a fish alive.
Six, seven, eight, nine, ten,
Then I let it go again.
Why did you let it go?
Because it bit my finger so.
Which finger did it bite?
This little finger, on my right.
It’s a song that incorporates counting, counting on (starting from 6), left and right, and comparative sizing (to understand which is the ‘little’ finger). Our fish pegs are also great for building up fine motor strength in fingers and hands, which is really important for this toddler / preschooler age group.
But mostly, this is just a fun craft to go along with a cute song that both my kids love. They sing it loud and proud, and are tickled by the idea of teeny fish pegs biting their little fingers.
(Note: the products we used in this activity were purchased locally. I’ve added some affiliate* links to similar products below. Thanks.)
How to make fish pegs {that bite}!
We used:
- upcycled kids artwork. (Some of our art we used was left over from our DIY heart stamp post and our DIY fireworks stamp post)
- regular wooden pegs or clothespins. (Ours look similar to these ones
. Cheap ones are great – you don’t want pegs that are too ‘good’, or they’ll clamp on too tightly to little fingers.)
- scissors
- clear drying glue and glue stick
- fine black marker
- rhinestones
- and a healthy dose of imagination. 🙂
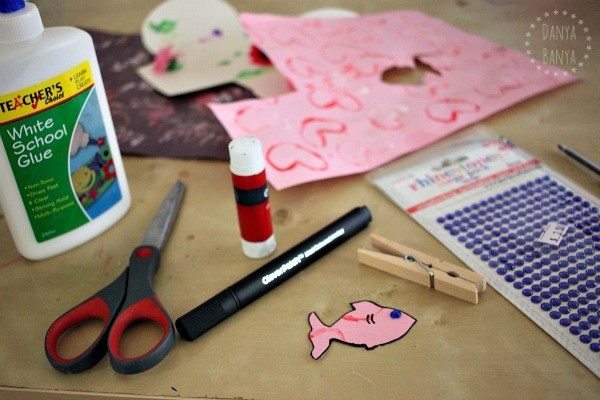
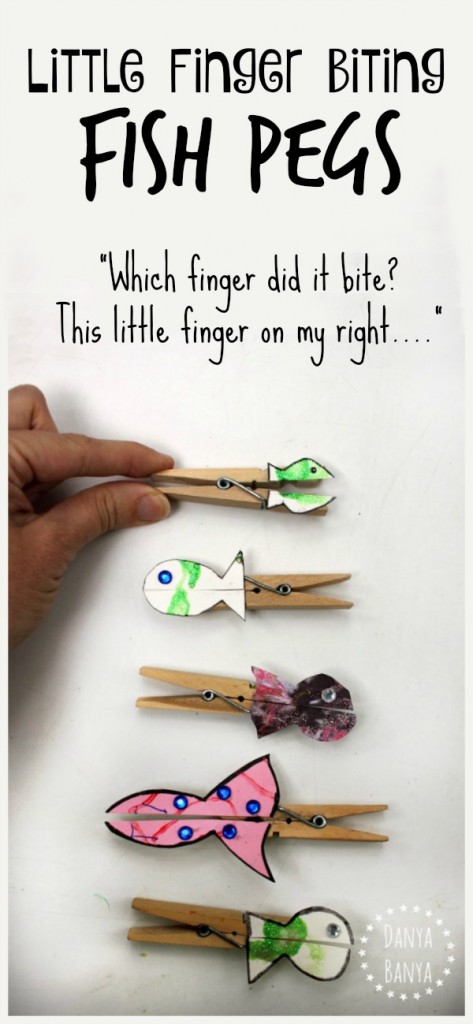
I cut small fish shapes from kids’ artwork, and outlined with permanent marker. Bee and I then attached rhinestones for eyes or decorations (using the glue stick, as the self adhesive on our rhinestones wasn’t very strong).
I cut each fish in half horizontally, and used clear drying PVA-style school glue to attach each side to the ends of wooden pegs, and allowed to dry.
It works best if your fish are very small, so they are roughly the same length as the end section of the wooden pegs. If you want a larger fish size, then I’d recommend cut your fish shapes from cardboard rather than paper, to strengthen the portion that overhangs.
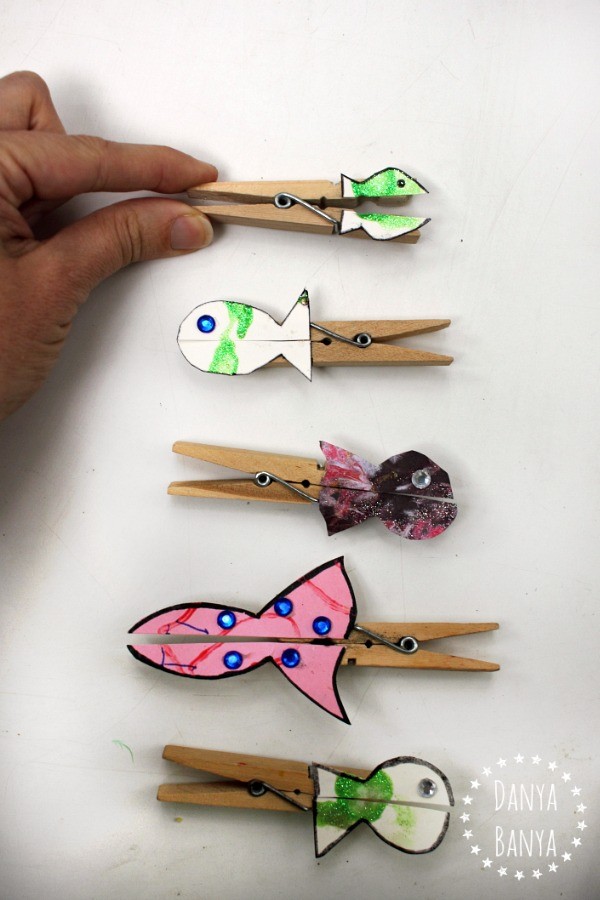
And then sing! And let the fish bite!
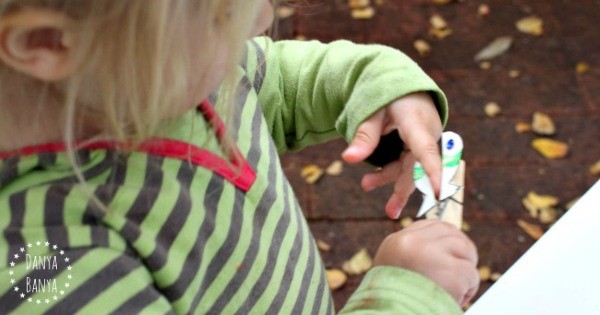
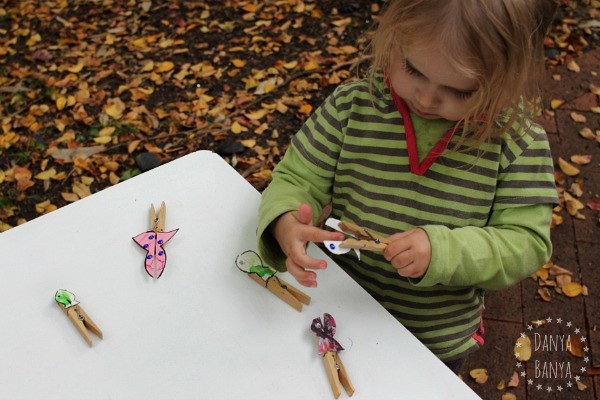
Note: we didn’t keep the peg biting Bee’s finger for very long, and we rotated fingers so that the one finger didn’t cop too much abuse. Choosing cheap pegs that don’t have a strong grip also helps.
Your fish can also bite other things – a piece of string, the edge of a piece of cardboard or paper plate, the hem of a dress…..
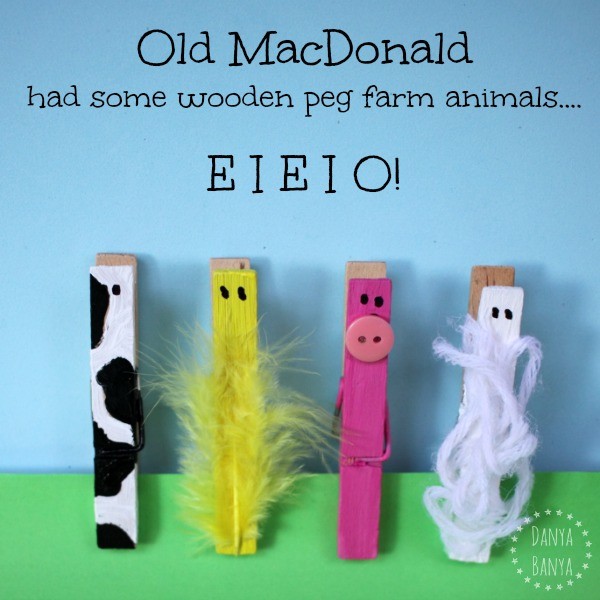
And if you are after more peg nursery rhyme ideas, be sure to check out our Old MacDonald Had a Farm Peg Animals – it’s been really popular. We have both of these, and lots more, listed on our nursery rhyme activities page.
This post is part of a series called Rhyme Time, where some of my blogging buddies are sharing different activities to go with popular nursery rhymes. Check out these other “1, 2, 3, 4, 5” ideas from some of my blogging friends:
- Ordering Numbers Fishing Game | Teach Me Mommy
- Number Fishing Tuff Spot | Adventures of Adam
- Magnetic Fishing Number Game | Messy Little Monster
- 1-2-3-4-5 Fish Crackers Counting Activity | Best Toys 4 Toddlers
xx Danya
* This post contains affiliate link(s). An affiliate link means I may earn advertising / referral fees if you make a purchase through my link, without any extra cost to you. It helps to keep this little blog afloat. Thanks for your support.

#
Super cute!