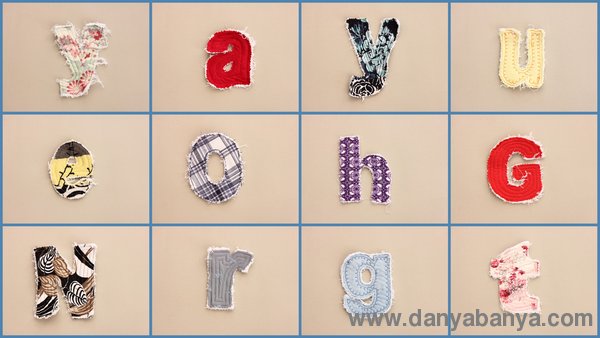
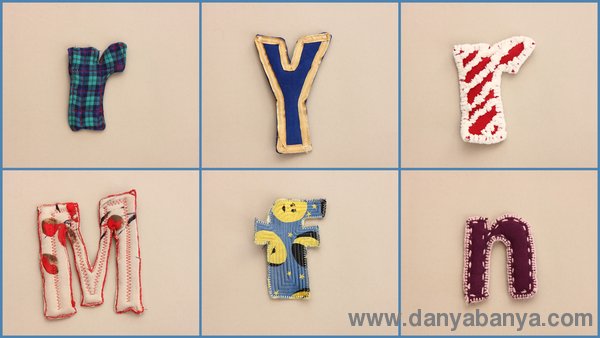
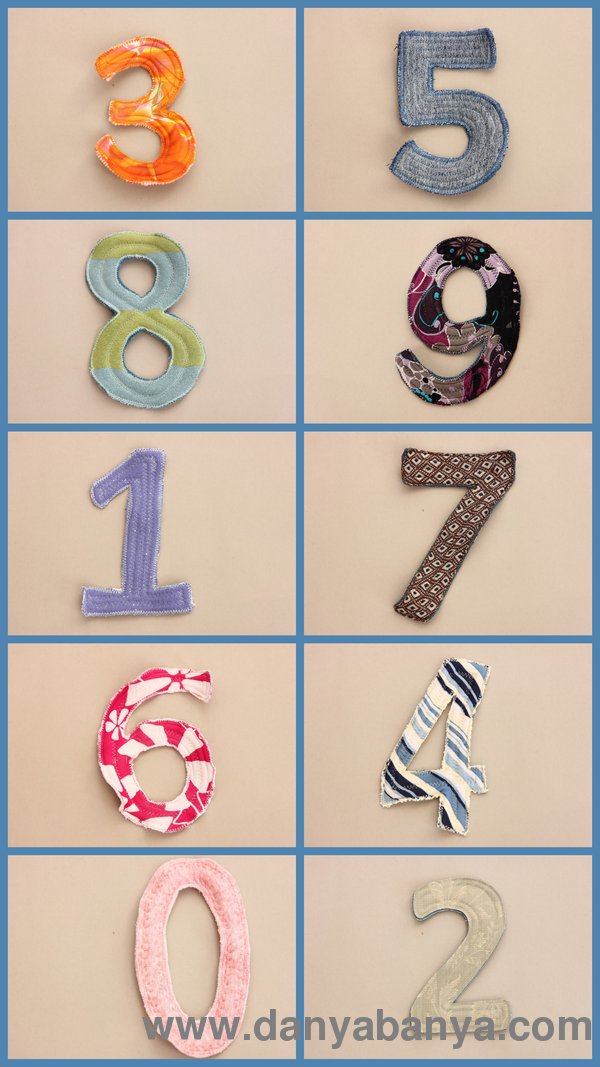
I’ve been sewing upcycled letters and numbers – lots of them!
My inspiration came from Happy Together’s Rag Quilt Letters Tutorial, where you can find templates and easy to follow instructions.
I started making them about a year ago, when I first decided to get all crafty and bought my sewing machine. They were a great first project – I could try out different settings, stitches and sewing styles, and any little flaws added charm rather than detract.
Several I made with terry-towelling as the middle batting. I cut the edges with pinking shears, and then washed to create a “rag” effect. I particularly like how both the ‘y’ letters worked out.
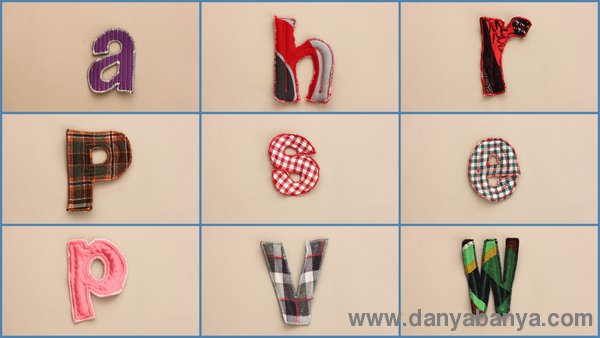
I also made lots with a polyester blanket as the middle batting, and a wide zigzag stitch twice around the edges. This created a much neater look, and was also easier and quicker to sew.
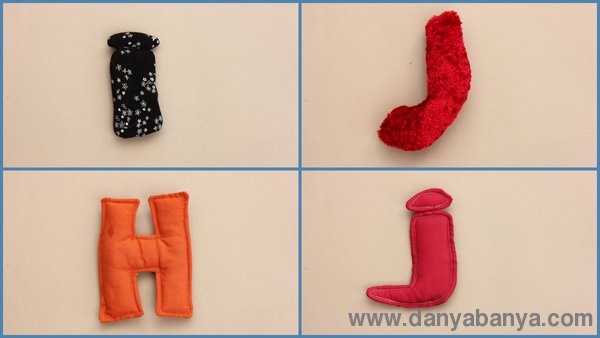
I also made some with polyester stuffing, creating a padded “stuffed toy” look.
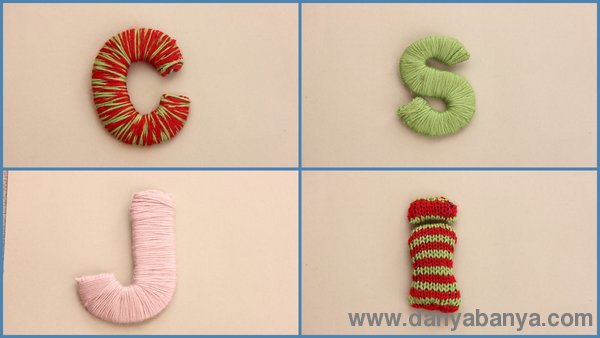
And I used wool (yarn) for a few too. I knitted the “i” below. I wrapped wool around cardboard template, tucking in and gluing the edges for the “C”, “S”, and “J”.
And just for fun, here’s a couple I embellished with wool, ribbon, contrasting thread or close quilting.
Every letter and number is made from a different fabric, except the wool which I doubled up on slightly. Almost all the materials are recycled / upcycled – the only thing that was bought new for this project was the polyester stuffing, and the basic thread. Everything else was either materials I already had, old clothes that were unfit to donate, or fabric scraps sourced from Reverse Garbage. (Most of the pretty patterned fabrics came from Reverse Garbage).
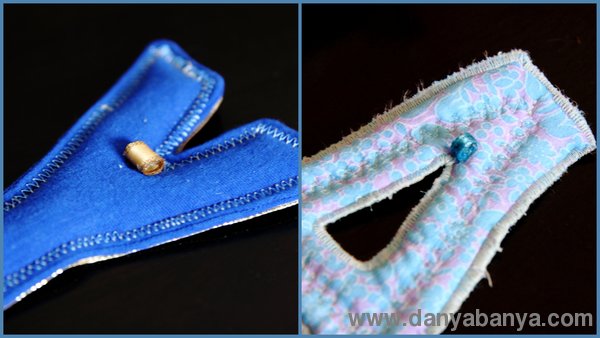
On the back of each letter and number, I glued on ribbon loops, so they can be hung. To make the loops, I wrapped the ribbon around a straw and glued. For some letters, I glued on two or three loops, especially for letters like ‘d’ which can also be hung upside down to be ‘p’.
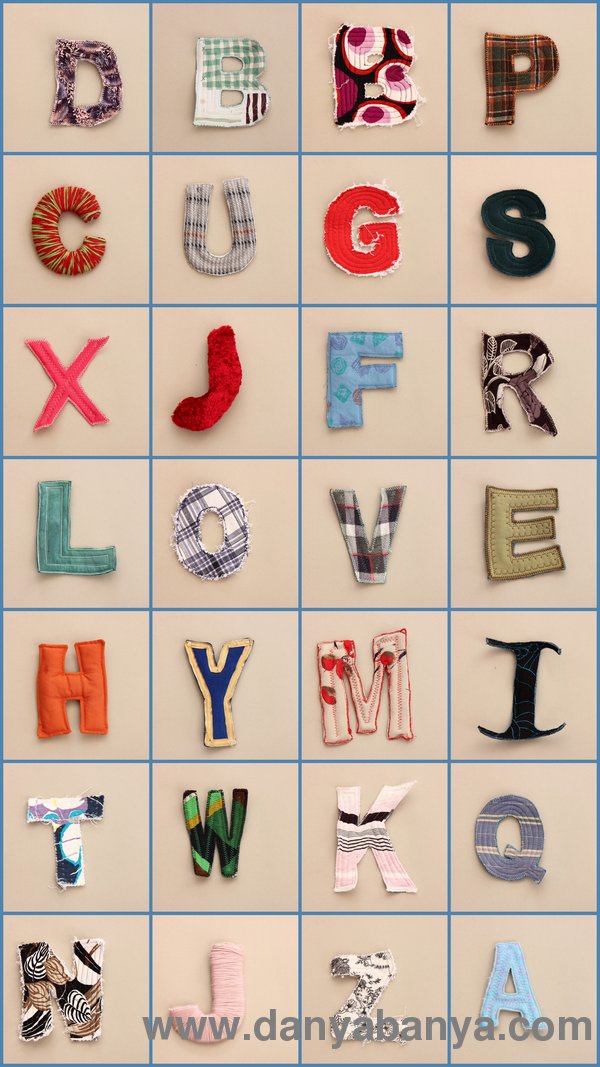
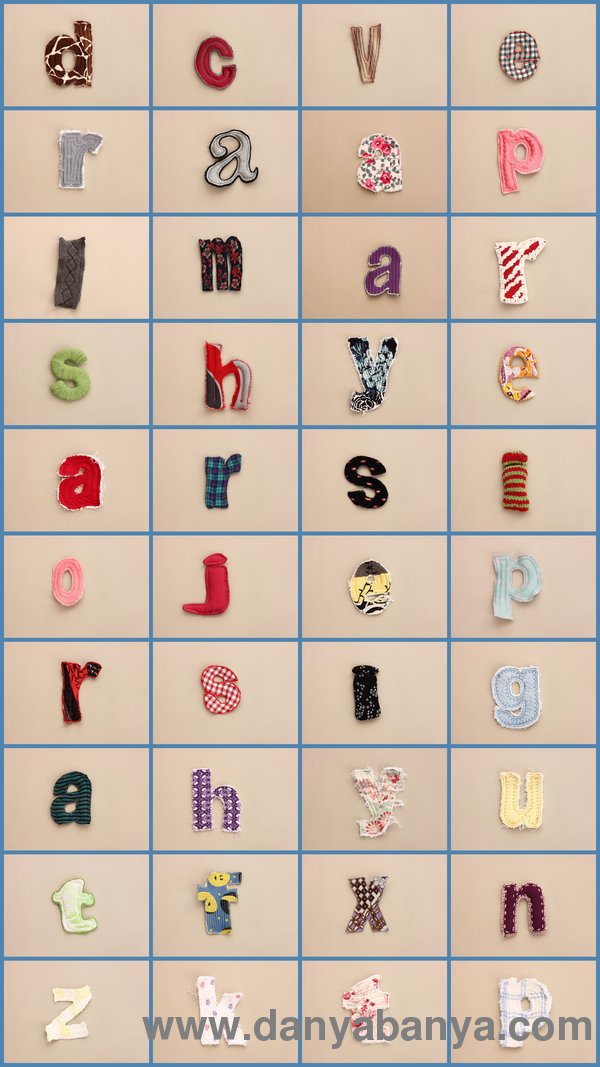
The overall project took me about 6 months, but I didn’t feel bogged down as each letter / number breaks it up into lots of little mini projects. I started off making the letters for “Merry Christmas” and then added the extra letters needed for “Happy 2nd Birthday JJ”, and then started to fill in the gaps, letter by letter, until I had a full set. I now have about 80 or so.
Here are all the upper case, lower case and numbers I can find. (There are a couple missing, which I suspect are at the bottom of one of JJ’s toy boxes somewhere…)
These letters and numbers have made an appearance a few times already. They look great hung up for Christmas and birthday parties! And I’m sure will be great when the kids are learning to read. I also still have the letter and number paper templates, and have used them for quite a few projects since. (For instance, I used the “B” here.)
xx Danya
This post was featured by:
All Our Days with Finished Friday.
Threading My Way with Threading Your Way.

