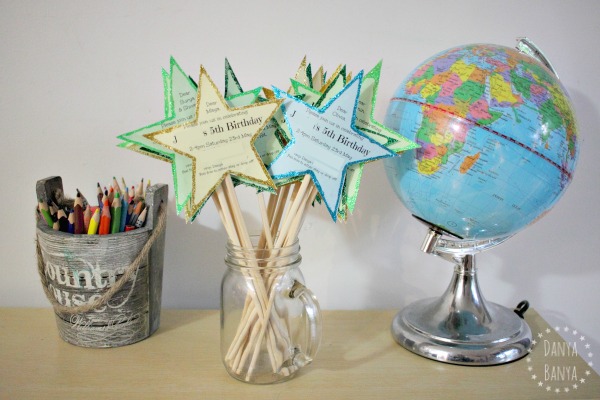
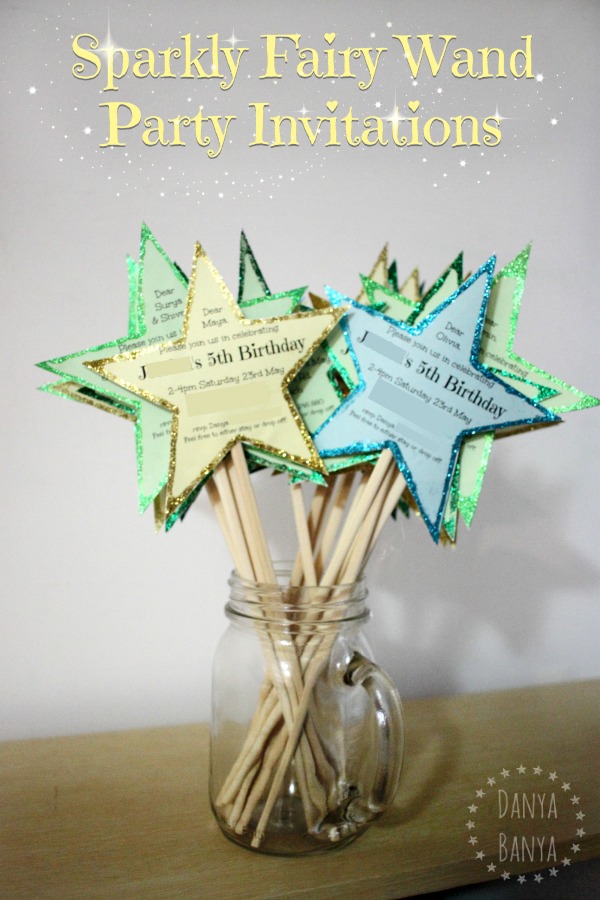
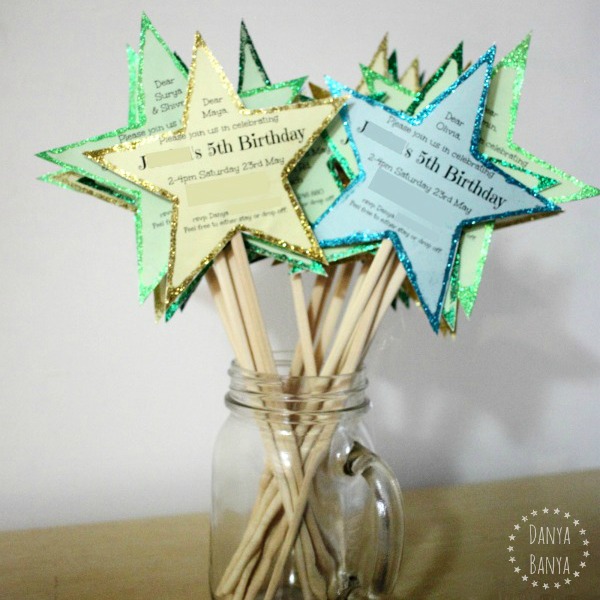
How to make DIY sparkly fairy wand invitations – perfect for a fairy themed birthday party.

We had a fairy-themed birthday party for my daughter JJ’s 5th birthday. JJ and I made these DIY wand invitations, and she had so much fun handing them out! I’m still getting lots of comments about them several months later, and some of her friends even still use their wand invitations for fairy role-playing at home, so I thought I should share how we made them.
It’s a bit tricky sharing DIY invitations though, because they have our personal details written all over them! If I had thought ahead, I would have made up a mock version with fake details, but in the pre-party planning madness, I was too busy just trying to get all the things done so I’ve just blocked out all the personal bits from the photos. Sorry that this makes them look at bit sketchy!

To make DIY fairy wand invitations like ours, you need
(I’ve included affiliate links* to items that are similar to what we used.)
- coloured printer paper
- a computer and printer
- white cardboard
- glue stick
- glitter glue
- wooden chopsticks
- glue gun and glue
- scissors
What to do
1. Design your invitations using a star shape outline.
I designed our invitations online using Picmonkey. It’s a site that I use almost every day for photo editing, so it’s what I’m most comfortable with. I’m sure you could do something similar with other editing software, so go with whatever is easiest for you.
If you are using Picmonkey, here are a few tips:
- Start by clicking the design icon and choosing a white canvas colour.
- You can add a star outline by first adding a black basic star overlay, and then adding a slightly smaller white star overlay on top. Once you are happy, you can ‘combine elements’ by clicking on the down arrow next to the cog (in the top menu), and this will make it easier to arrange text boxes on top later.
- Leave a big margin (1cm) between the text and the edge of the star – as this will be where your glitter border will go.
- Save a copy of the final draft, but don’t close the draft afterwards! You’ll want to save a different file for each person that you invite (with their name at the top of the invitation), and you can only amend the design while the original draft is still open.
2. Print the invitations onto coloured printer paper.
We used green, yellow and blue – partly because we’re not an overly pink household, and also because all our pink paper happened to have been used up for decorations for a friend’s baby shower the week before. 🙂
3. Cut out the invitations, using the star outline as a guide.
JJ helped with the cutting, and was able to follow the star outline quite well. Great fine motor practise! She cut out about half of the invitations in total, which was a mammoth effort for an almost 5 year old. A couple of her attempts (especially towards the end, when her attention span was waning) were slightly dodgy. Luckily the style of the invitations is fairly forgiving of minor cutting mistakes. (Although I did reprint one or two of the worst ones…)
4. Glue the invitations onto white cardboard and cut the stars out again.
I did all the cutting at this point because, frankly, I wanted a nice clean edge. Besides, JJ was totally over cutting by now.
I know it sounds like double work to cut the stars out twice, but it didn’t actually take much time at all, and I think it works out easier this way. This step is where you can easily fix up (most) of the previous cutting mistakes. If JJ had cut a coloured star slightly too large, I could easily trim it. If she had cut a coloured star slightly too small, I just left a small white cardboard boarder around the too-narrow sections, which was covered up later by the glitter glue.
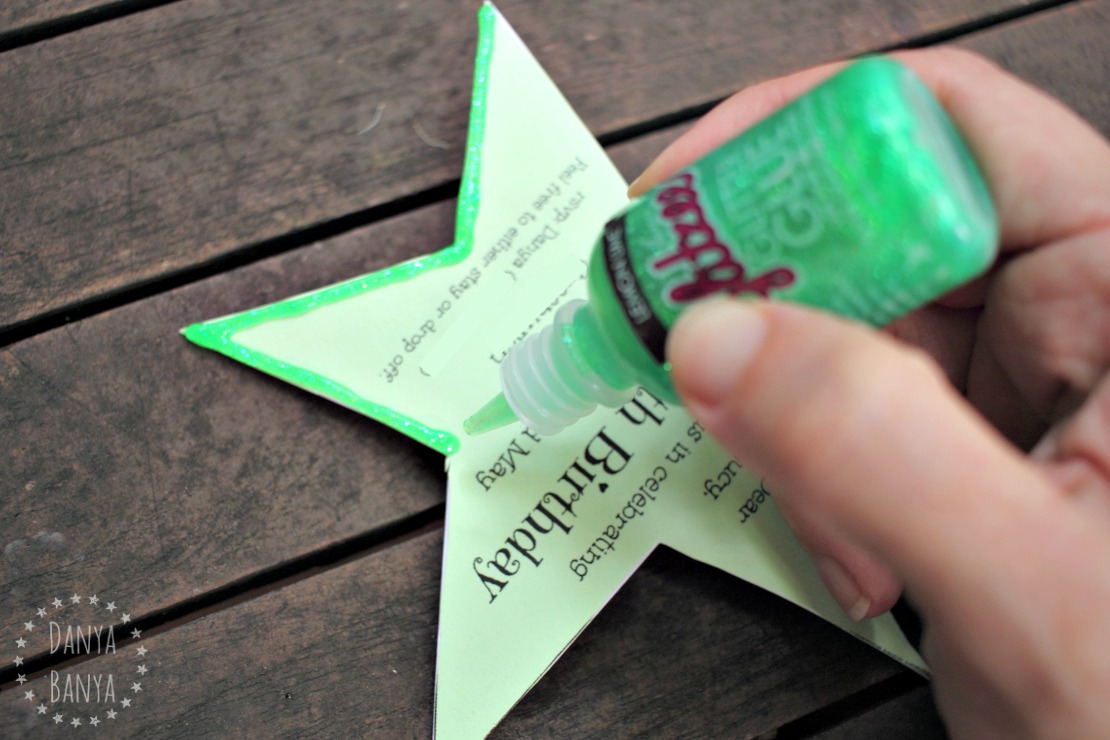
5. Add a glitter glue boarder and let sit for at least 24 hours to dry.
The glitter glue serves several purposes. Firstly, it covers up any cutting errors as mentioned above. Secondly, it adds extra glue to the edges, stopping the coloured paper from peeling back off the cardboard. Thirdly, (and arguably most importantly), it adds sparkles!

Decent quality glitter glue is very important. If you can’t find quality glitter glue, then it’s better to use a clear-drying craft glue instead and sprinkle extra fine glitter on top.
(I tried using a cheap glitter glue pen on one of the invitations, and it looked really terrible. The thinness of the glue caused a bleeding effect on the coloured paper, there wasn’t enough glitter to create a definite edge, and the paper wrinkled as it dried.)
Also very important, is to let the invitations sit somewhere flat and undisturbed long enough to dry properly (which will likely be 24 hours or so).
6. Split wooden chopsticks in half, and glue one half onto the back of each star.
The staff at our local sushi takeaway said we could use some of their wooden chopsticks. I did offer to buy them, but they refused! (We eat there twice a week, so I don’t feel too bad…)
I used our low temperature glue gun to glue the chopsticks on (although I assume a hot glue gun would work just as well).

And there you have some DIY wand invitations for a fairy birthday party! JJ just loved handing them out to her friends at school the next morning.
If you are after more fairy party ideas, you might also like our DIY clothespin fairies and fairy doors.
Thank you fairy much for reading!
xx Danya

#
Awesome idea!!!
My recent post Additions to the Stash
#
Thanks!!!
#
Seriously ADORABLE!!! We are having a star party for my little ones 1st birthday so these would have been perfect.
My recent post Baby play idea using a tissue discovery box
#
Thank you! And I love the idea of a star theme for a 1st birthday party. Super cute!
#
this is really cool trick and very innovative. keep up the good work
#
Thanks!!