Tutorial for DIY rain sticks (also called rainsticks and rain makers.) A fun, musical craft that you can make with your child.

JJ and I had a lot of fun making these Rain Sticks over the weekend. Once we’d finished making them, we got to make music with them. Fun, fun, fun!
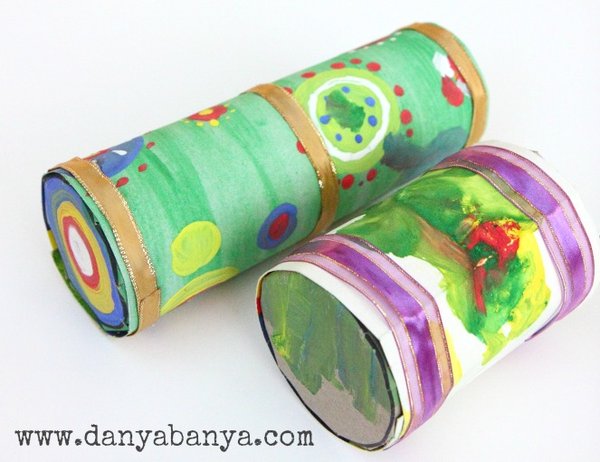
They can be shaken like a maraca, but for the best effect they are turned slowly onto one end and they make a sound just like rain.
Here’s how we made them:
Step 1: Gather your supplies
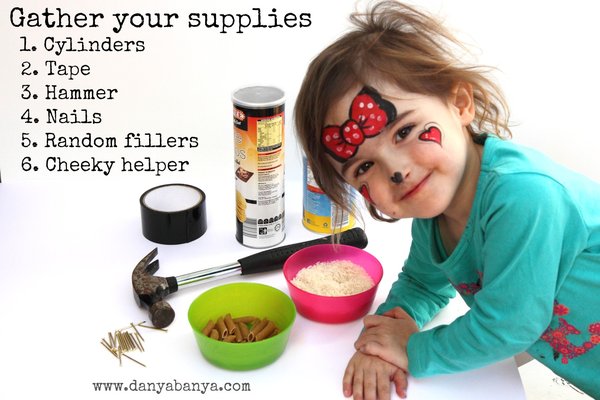
We used 2 x cardboard cylinders (with lids) from the recycling, some packing tape, hammer, nails, rice and pasta as fillers and a cheeky toddler or preschooler to help. (Bonus points if you’ve been at the farmers’ market that morning and had their face painted.)
Step 2: Give the hammer to the toddler

A bit controversial – each parent needs to judge what’s appropriate for their own child. I judged that JJ (at 3 years and 2 months) was mature enough to handle the hammer with respect. We discussed hammer safely before she was given it to hold, and she was fully supervised the whole time. JJ was very aware that I was placing my confidence in her, and she conducted herself very responsibly. (My little girl is growing up!)

With a (fair) bit of my help, JJ nailed in the nails along the sides of each of the cylinders at random locations. The more nails the better the rainstick will end up sounding.
Step 3: Add fillers
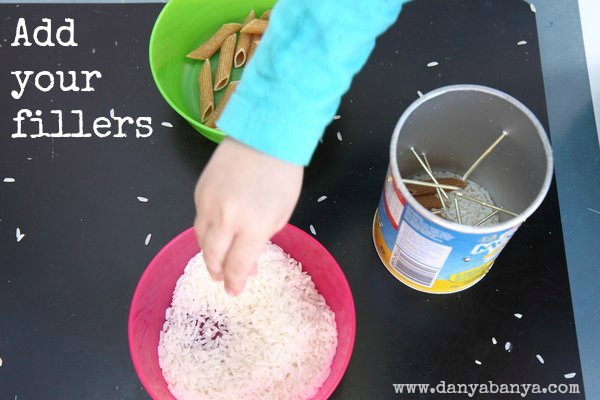
We used jasmine rice and wholemeal penne pasta – just because that’s what we had in the cupboard at the time. You could also use lentils, cous cous, bean soup mix, or even things from the garden like small pebbles.
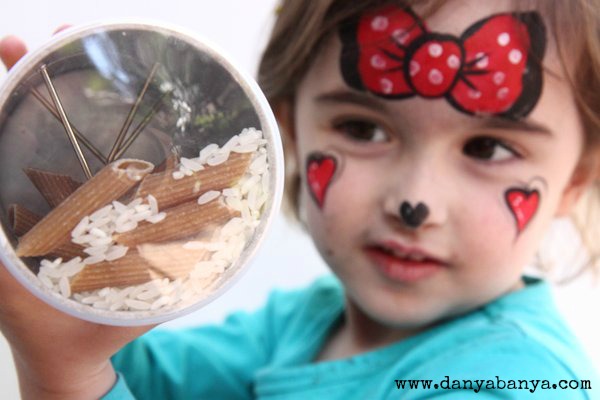
Because our containers had lids, we were able to test out the sound as we went along. I ended up adding more rice as the rain sound had a longer duration that way.
Step 4: Seal the ends
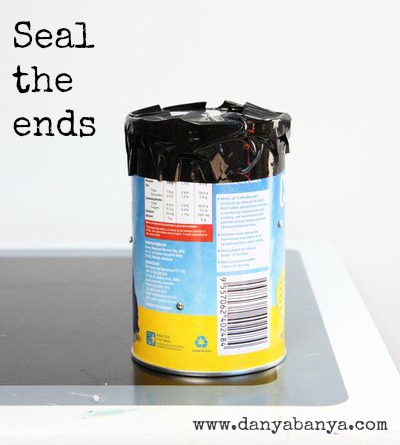
This step is optional. It is really for people who’s containers don’t have the ends built in. But I sealed the ends on our containers anyway, as I knew that JJ would want to play with the rainsticks before they were finished and I didn’t really fancy rice all over the floor….
Step 5: Do a cardboard painting

Do you remember the dot painting that I posted about last week? Well, it “coincidentally” was exactly the right size to go around our cylinders. Wow, that was lucky! *grin* These were old cereal boxes from the recycling. Thick enough to provide some protection, but thin enough so that they will bend easily.
The two larger rectangle paintings were for the sides, and the four square ones were for the ends.
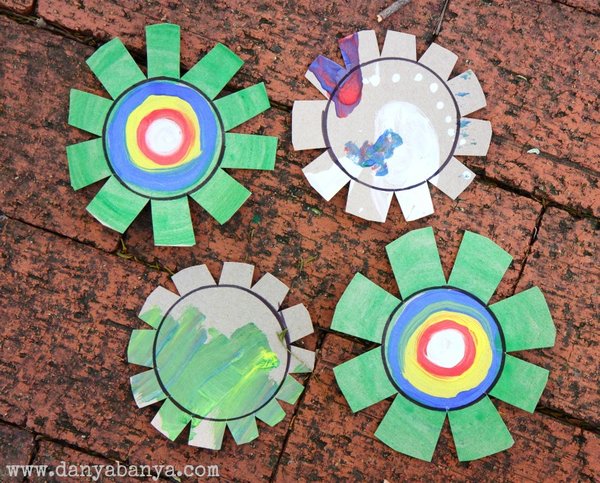 To make the ends, I traced the circumference of the cylinders in permanent marker, and then I cut circles about an inch bigger again. I then cut small triangles in to the inner circle.
Step 6: Decorate the rainsticks
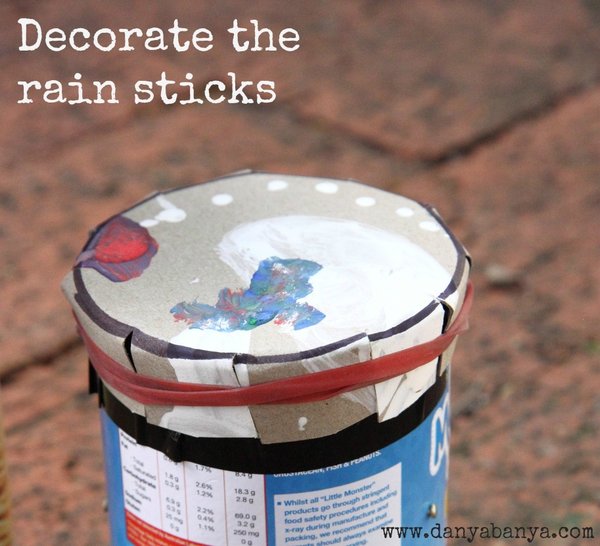
I applied craft glue to the back of the cardboard ends and held in place with a rubber band until the glue had dried.

And here’s JJ showing you just why you do need to cover these rainsticks firmly – because apparently it is sooo much fun to take the nails out and put them in again. Sprung! Look at those guilty eyes in the last shot…
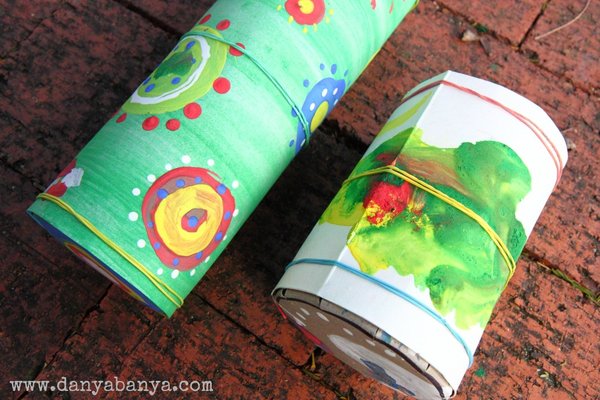
Then I glued the larger rectangles around the circumference of the cylinders, and again held in place with rubber bands.
(At both of these steps you could remove the rubber bands once the glue had dried, however I left them there as my craft glue isn’t that strong.)
And then I glued on some ribbon to finish!
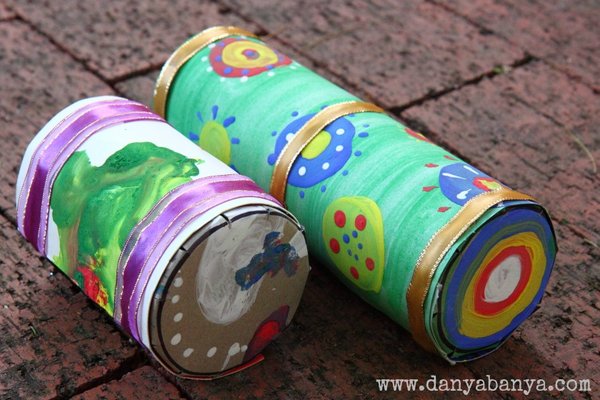
Ta Da!!
Since making these rain sticks, we’ve had quite a few rain dance parties in our lounge room. We’ve listened to the tinkling rain sound that they make. We’ve chatted about how these are South American instruments, and looked up South America on the map. Lots of fun with just a little bit of learning thrown in. 🙂
For more upcycled art & craft ideas, check out:
- our easy fireworks painting for kids with a DIY upcycled stamper,
- we’ve made these toilet paper roll dolls by the dozen,
- this DIY baby activity box is fun for babies who can sit,
- you could make a stick person (or a whole community),
- these nature cuffs made for a really fun outing,
- our DIY Emo Dolls are great for helping young kids understand emotions through play,
- and we’ve actually done so many upcycled toilet paper roll activities that they’ve earned their own page and Pinterest board, lol…
xx Danya

#
I love all the details in these lovely instruments!
My recent post Chinese New Year Dragon Art for Toddlers
#
Thank you!
#
Was your cylinder cardboard or metal? I thought the nails might crush the cardboard. Thanks!
#
They are actually made with a Maggi crisps tube (which is the same as a Pringles tube) – so technically it’s a “paperboard can with a foil-lined interior”. x
#
Diameter is the longest line through the CENTER of the circle.
Circumference is the distance AROUND the circle.
Cute idea.
#
Oh my gosh, of course! I can't believe I made that mistake (twice)! Thank you so much for pointing this out, I've fixed it now. 🙂
#
#